Loop Control Statements in C
Introduction to HTML
How to use the Github API
The image tag, anchor tag and the button tag
Ordered and Unordered Lists in HTML
The division tag
HTML Forms
Tables in HTML
Introduction to C Programming
Introduction to Python
Varibles and Datatypes in Python
Operators in Python
Typecasting in Python
Input and Output in Python
If Else in Python
Loops in Python
Break, Continue and Pass in Python
Python practice section 1
Lists in Python
Tuple in Python
Image Downloader
Image Downloader is a project which allows you to download high-quality images for
various topics in any resolution you want. This is all free! For this, we are going to use the UnsplashAPI to
give us images. You can download any image you like. This is going to be a fun frontend
project using HTML,CSS, and Javascript only!
- Setting Up the Webpage
- Fetching image with the API
- Adding download feature
- Final Touches!
Jump to specific sections
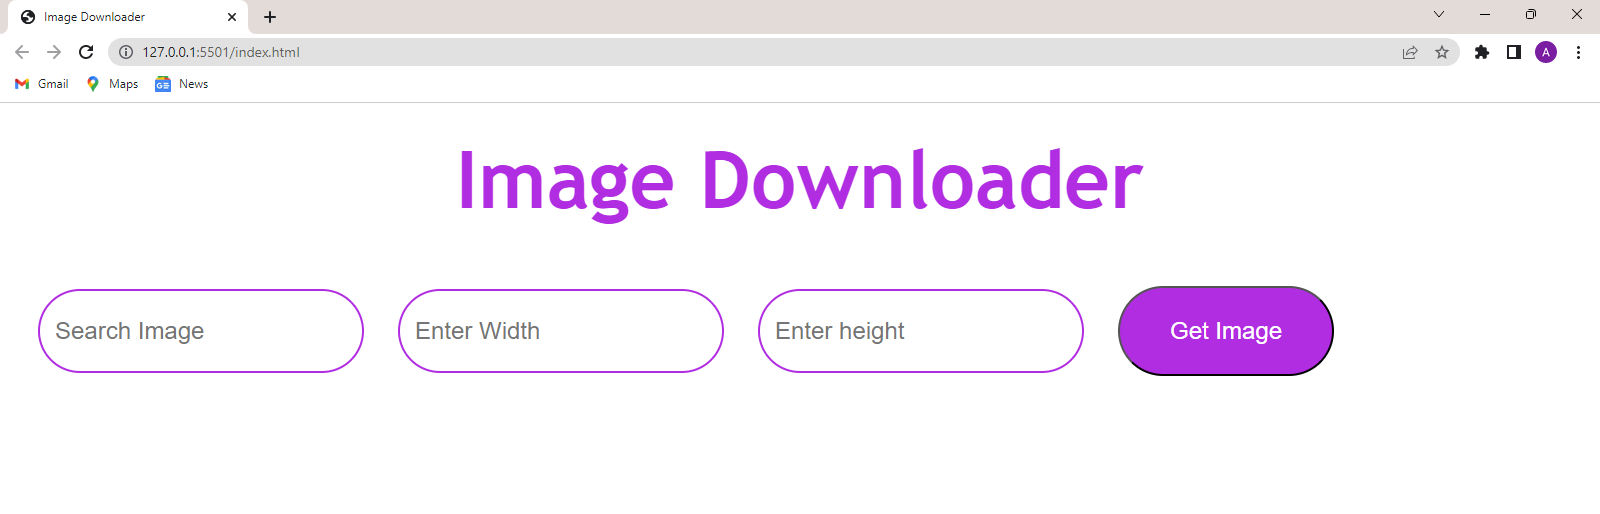
Setting up the webpage
Firstly, we need the user to enter any name, topic or place, etc. for which they want
the image. We will create an HTML form where the user will enter their choice and a submit
button. After clicking the submit button, the get_image() function will be called to
display the image. We will define the function later. For now, we just style our
webpage as follows :
Index.html
    <!DOCTYPE html>
    <html lang="en">
    <head>
        <meta charset="UTF-8">
        <meta http-equiv="X-UA-Compatible" content="IE=edge">
        <meta name="viewport" content="width=device-width, initial-scale=1.0">
        <link rel="stylesheet" href="style.css">
        <title>Image Downloader</title>
    </head>
    <body>
        <div> class="title">Image Downloader</div>
        <div id="search_image">
            <input type="text" id="search" class="input_box" placeholder="Search Image"/>
            <input type="text" id="width" class="input_box" placeholder="Enter Width"/>
            <input type="text" id="height" class="input_box" placeholder="Enter height"/>
            <button> onclick="get_image()">Get Image</button>
        </div>
        <img src="" id="image" alt="">
        <button id="dwld_btn" onclick="download_image()">Download Image</button>

        <script> src="script.js"></script>
    </body>
    </html>
Style.css
    .title
    {
        font-size: 5rem;
        color:rgb(177 45 225);
        text-align: center;
        font-family: 'Trebuchet MS', 'Lucida Sans Unicode', 'Lucida Grande', 'Lucida Sans', Arial, sans-serif;
        font-weight: 1000;
        padding: 15px;
        margin: 15px;
        border-radius: 100px;
    }
    #search_image{
        padding:30px;
    }
    .input_box{
        height:50px;
        padding: 15px;
        font-size: 1.5rem;
        border-radius:100px;
        border:2px solid rgb(177 45 225);
        margin-right: 30px;
    }
    button{
        width: fit-content;
        height:90px;
        border-radius: 60px;
        padding: 20px 50px;
        font-size: 1.5rem;
        background-color: rgb(177 45 225);
        color:white;
        }
        #image{
            display: block;
            margin-left:auto;
            margin-right:auto;
        }
        #dwld_btn{
            display:none;
            margin-left:auto;
            margin-right:auto;
            margin-top:20px;
         }
Preview
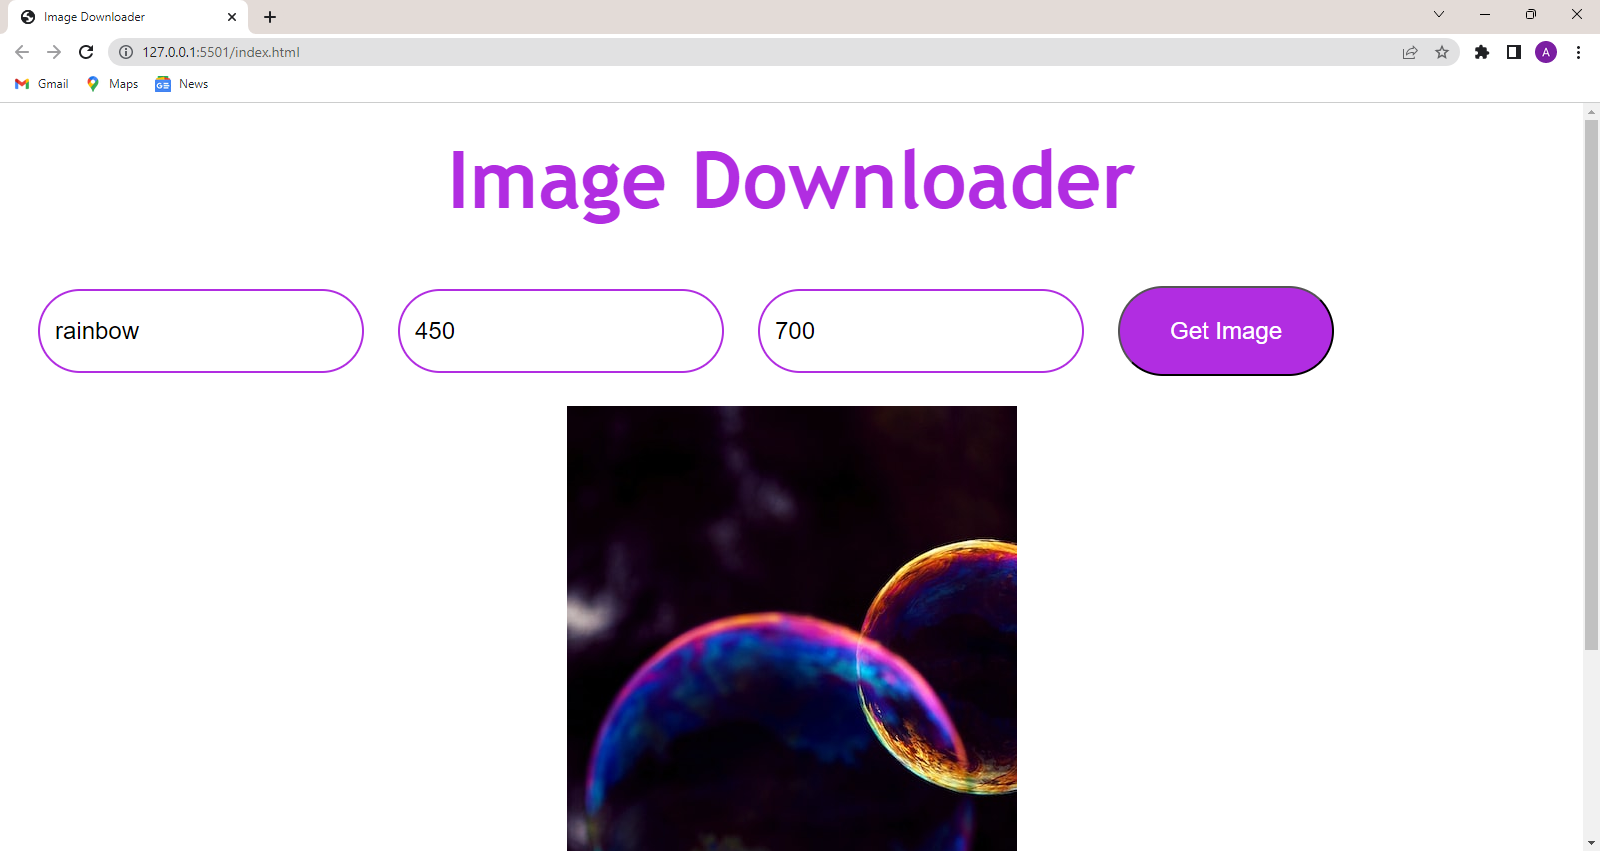
Fetching image with the API
The API we are going to use is the https://source.unsplash.com/{width_goes_here}x{height_goes_here}/?{keyword}
where keyword is the topic or description of the image you want. We use the fetch keyword of JS to make a call to
the API. This API returns a response object. The response object contains a url field that
contains the url of our image. Now, we need to set the src attribute of the image tag
with this url in order to display the image. We also make the display of our download
button visible. We can do this as follows :
Script.js
    var imageURL;
    function get_image() {
        let keyword = document.getElementById("search").value;
        let width = document.getElementById("width").value;
        let height = document.getElementById("height").value;
        let image = document.getElementById("image");

        let api = `https://source.unsplash.com/${width}x${height}/?${keyword}`;
        // console.log(api);

        fetch(api).then(
            (response) => {
                return response.url;
                })
                .then((url) => {
                imageURL=url;
                document.getElementById("image").src=url
                document.getElementById("dwld_btn").style.display="block";
                });
        }
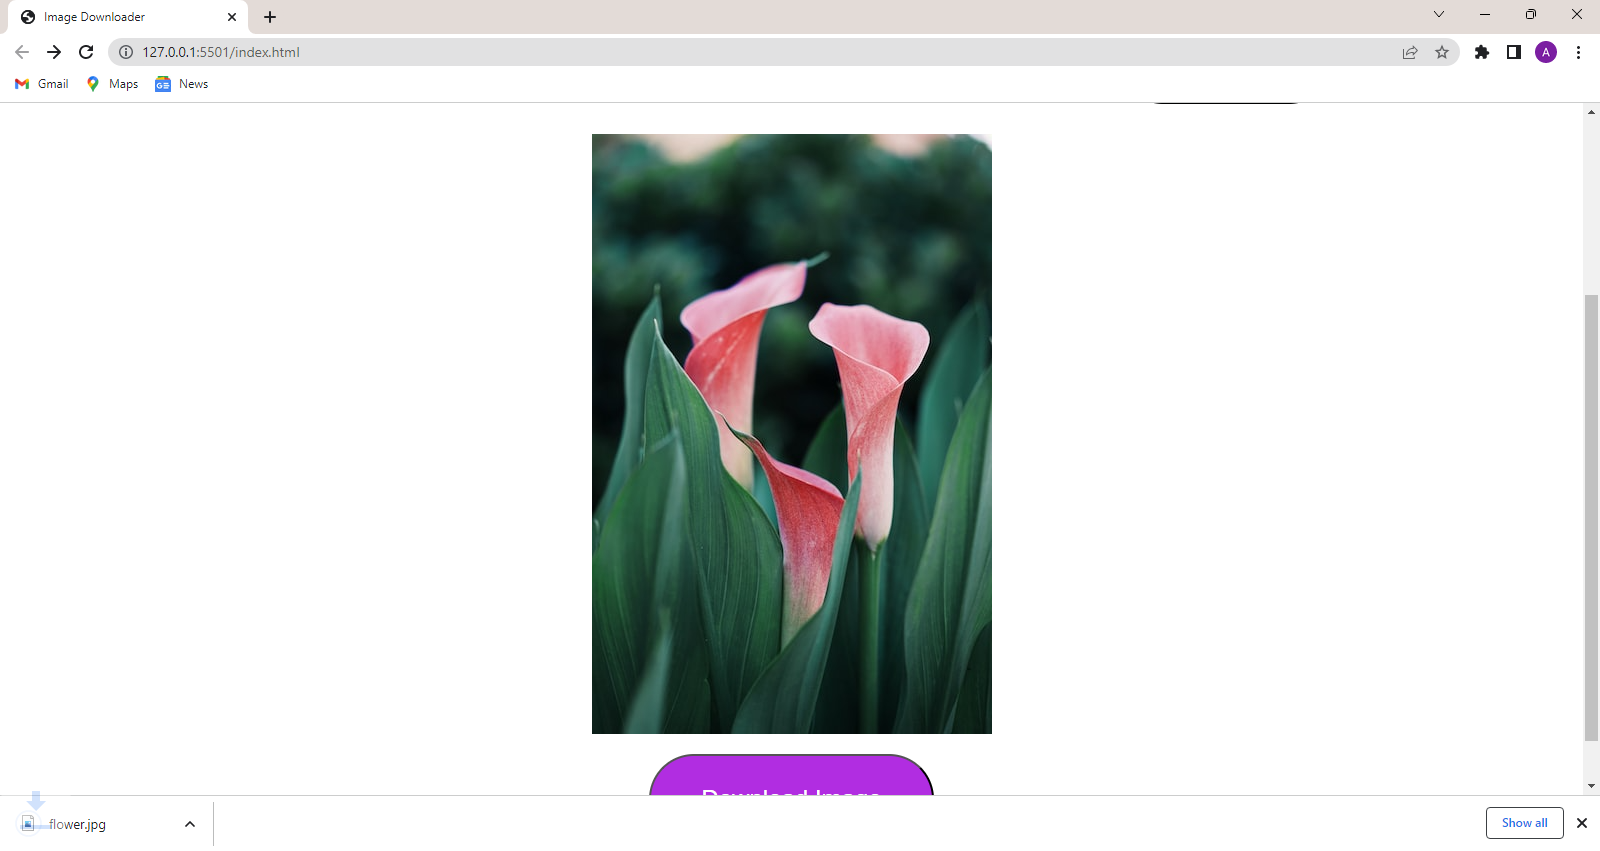
Adding the download feature
Now, we need to provide the users to be able to download the image. We have already saved the url of the
rendered image. On clicking the download button, the download_image()
function will be called which is defined as follows. :
Script.js
    function download_image()
    {
        fetch(imageURL)
        .then(resp => resp.blob())
        .then(blobobject => {
            const blob = window.URL.createObjectURL(blobobject);
            const anchor = document.createElement('a');
            anchor.style.display = 'none';
            anchor.href = blob;
            anchor.download = document.getElementById("search").value;
            document.body.appendChild(anchor);
            anchor.click();
            window.URL.revokeObjectURL(blob);
        })
        .catch(() => console.log('Sorry! Failed to download the image.'));
    }
The download_image() function first takes the imageURL and converts it into a blob using
.blob() method. A blob is an object which stores data in the form of bytes. Then we used
the createObjectURL() method to create a URL of the blob object so that we can download the
images. An anchor element is created dynamically with href attribute set to the URL of the
blob object. The anchor element is clicked automatically which then downloads the image to
our local system. After that, we destroy the URL of the blob object by calling the revokeObjectURL() method.
Final Touches
We have noticed that the API takes a few seconds to fetch the image. Meanwhile,
the user must be informed that the request has been successfully made unless
they might click on the Get Image button a lot of times. So, we can add a loader
so that the user knows that they must wait while the image is getting loaded. We can
find a lot of open-source loaders for free! We have downloaded one from
Giphy.
Now, what we need to do is just set the src attribute of the image tag with the loader gif.
This can be done as follows :
Script.js
    function get_image()
    {
        document.getElementById("image").src="https://media.giphy.com/media/xTk9ZvMnbIiIew7IpW/giphy.gif";
        ......
    }
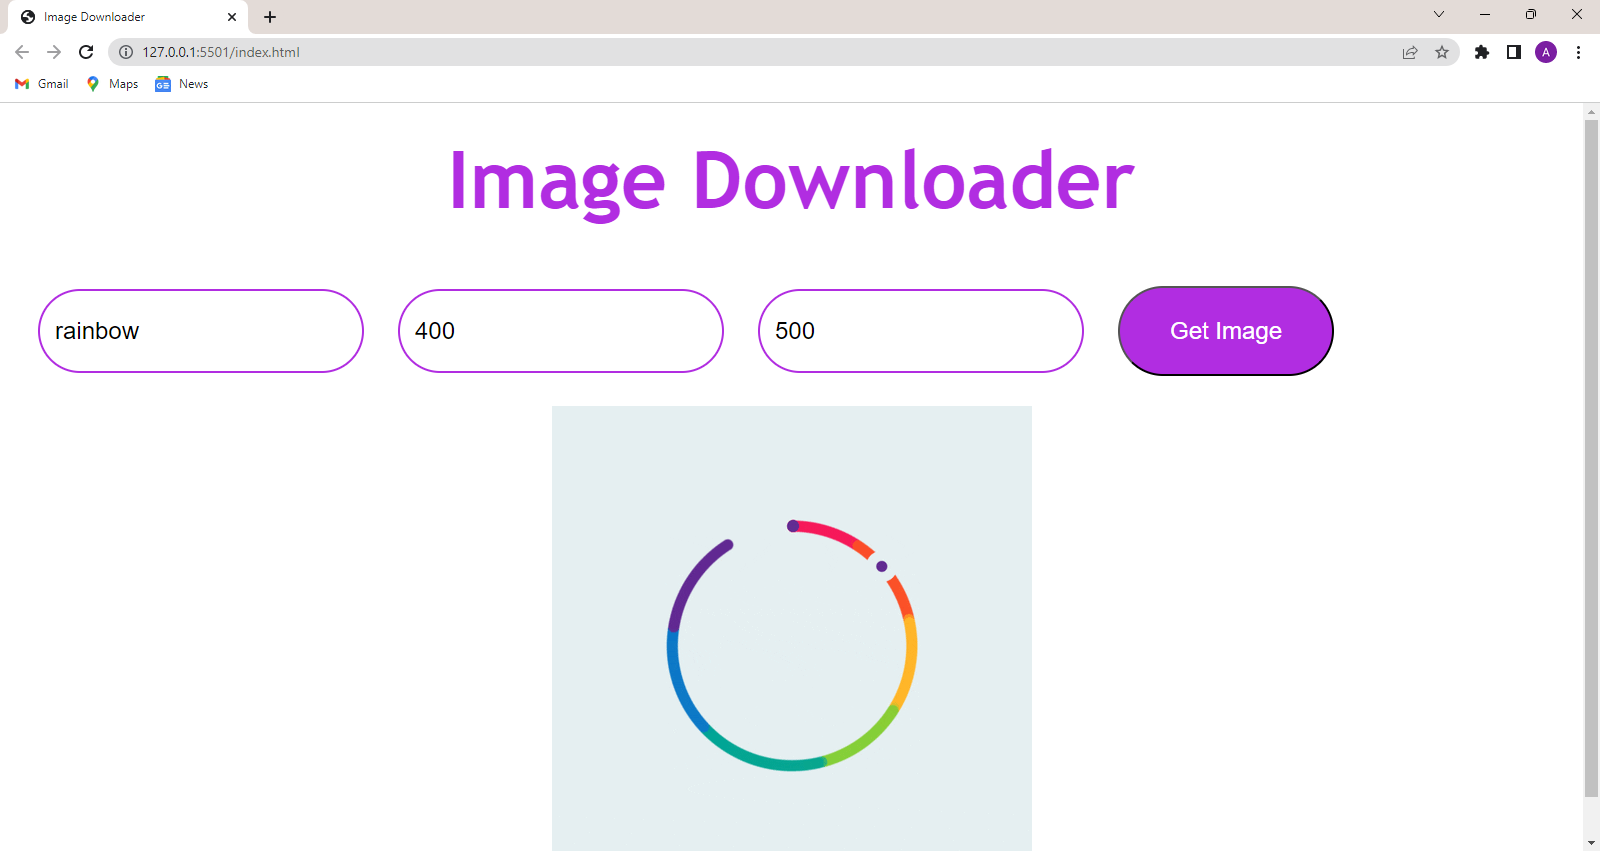
When the user makes the request, the loader will be displayed. After the image is ready, it will
be displayed.
Finally our project is ready.

To check out the live website or the full source code visit
https://github.com/jaditi930/Image-Downloader here.